Continuing the dandelion theme this is another Andy Goldsworthy design I wanted to emulate. To achieve the quality of his original is very hard. Just getting the ring right was very difficult and I didn't quite get there and finding a enough density of flowers equally taxing. In the end I found a spot on teh YMCA playing field in Lytham. I had to pick quite a lot of flowers to make the circle and even more to dot around the ring to try and make it look natural. The problme was the were growing at different heights and angles so I had to pick some of the ones that were actually growing in the shot and replace them with picked ones.
Monday, April 16, 2007
Sunday, April 15, 2007
Dandelion Knot
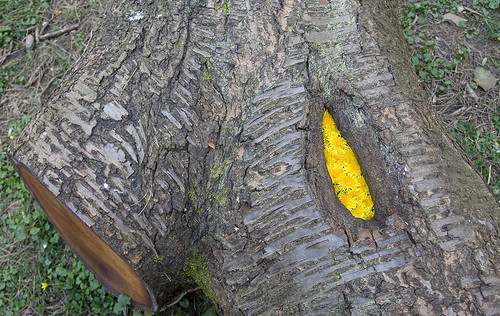
This was my second attempt at flowers inside a tree. The first one didn't really work. This one had a concave chamber inside the knot so that the flowers could be pushed inside making them look like there were actually inside the tree. The other version just looked like the flowers were stuck into the hole and the effect was poor. We had a look round for more suitable knots on the walk home and found a few but most of them were unsuitable.
Dandelion Moss Rings
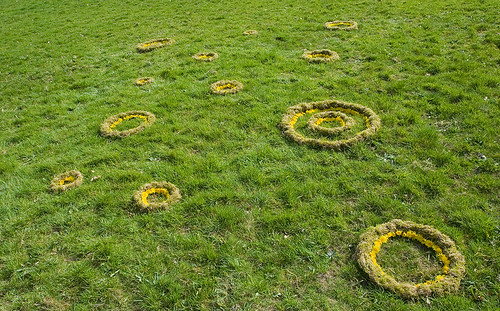
Spring has sprung and there are dandelions everywhere. For some reason I don't really like the idea of picking other flowers for land art. I don't want to adversly affect anything natural. But I am not to fussed about dandelions as there grow so quickly and won't suffer at all. This moss was collected from the beginning of the private road, I have wanted to make rings from them for ages. Instead we collected the moss and took it into the grass bank opposite and made different size concentric rings lined with dandelions flowers. It took me ages to be happy with the lay out as it looked out of balance and lacking in symmetry for quite a while. The next difficulty was getting anything like a decent picture as I couldn't high enough or far enough away to get everything in the picture. It looks more cohesive in real life. Some sculptures look more impressive framed in a photo some less so.
Saturday, April 14, 2007
Arch Balance
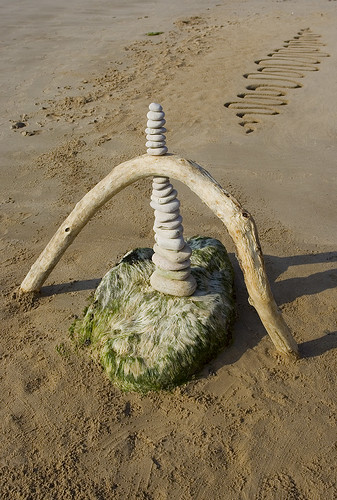
After completing the sand river sculpture I was looking for something else to do. I scoured around the high tide mark under the cliffs and found a great piece of driftwood shaped like an arch. It was a bit lopsided so I had to bury one end deeply. I tried it on one side of the rock but soon found there was large rocks 8 inches down and couldn't dig any deeper. So I swapped to the other side and could dig deeper. 12 inches down was the water line and you could see how this stuff turns into quicksand. Once buried Julia said why don't you do a rock balance underneath. An inpsired idea! Which I hadn't thought of. I wanted to do a more regular balance so I spent ages collected white round and flat pebbles. I tried several different combinations before I was happy with it and I was amazed it stayed balanced as it was very precarious but I thought it looked ok in the end if a little wonky.
Sand River

Another copy of a Andy Goldsworthy piece and another one that Julia and I fancied having a go at. I did this at Heysham and found a stretch of sand right on the edge of the high tide area so that it was firm and wet but not overly so. It actually wasn't too hard to make but quite time consuming - I got a little bored half way through! But I am very pleased with the result I just wish it was an orignal idea and not something I had to copy. There is definitely a lot that can be done with sand.
Wednesday, April 11, 2007
Sand Ball Balance
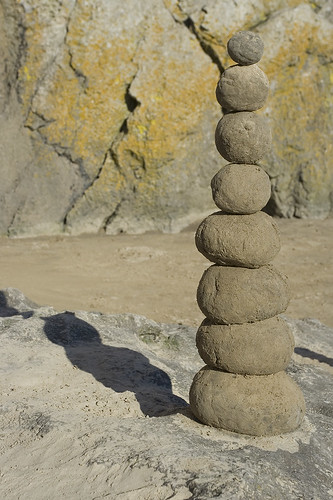
This was done nearly at the end of the day when the sand balls I made earlier had dried out and had become much lighter in colour. I tried to balance as many as I could.
Sand Vents
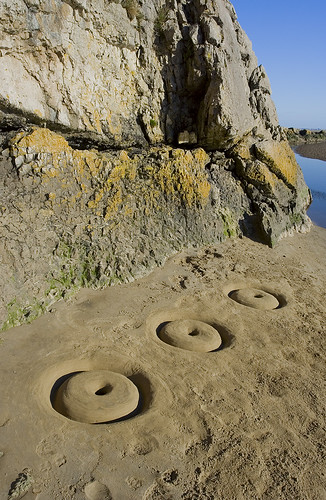
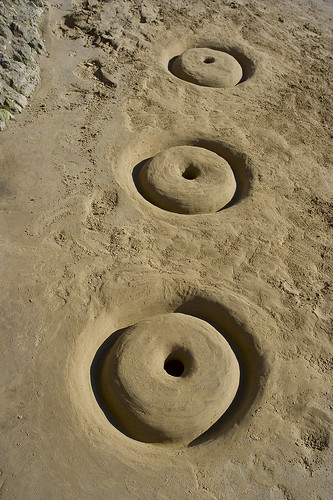
Julia's sand balls had given me the idea to work with the sand. Here there was a nice dryish crust with wet sand underneath that was easy to work. I started on the first hole (nearest in the picture) thinking that I would create a ball with a hole in it. As I worked it the doughnut shape began to form and I liked it. I spent ages smoothing it out and then thought I had to make three of them. The middle one was much easier to make and came together really quickly but the third one proved more problematic. It looked lumpy and a different shape to the rest and I kept returning to it to improve it's shape. I am really happy with the picture though, I think it has an other-worldy feel and gives me lots of ideas for more sand sculptures.
Sand Wheel
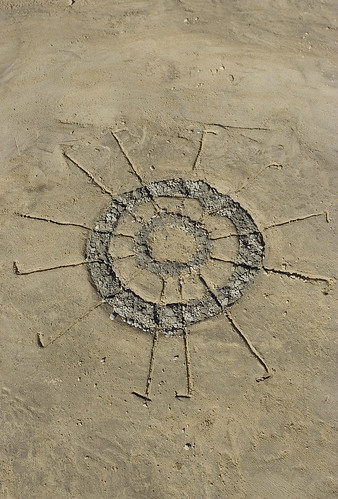
At Humphrey Head, after making my sand balls., I was just in the mood for doodling and ended up making this sand wheel, no pre plan, just did what I wanted as I went along. The darker sand was actually very black when I first started using it, but as it dried out it faded considerably. I used a tent peg to make the indentation of the spikes.
Lined Spiral
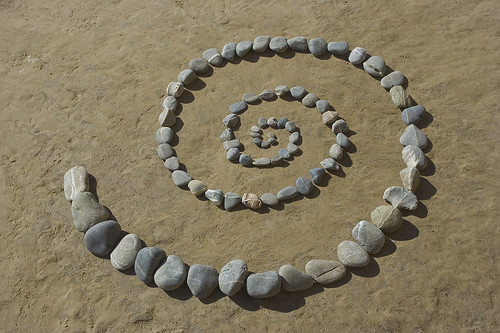
Around Morecambe bay there are lots of rocks with bands of quartz through them and I had in mind for a while that I wanted to create a spiral with a line continuing around the spiral made of the quartz bands running through each rock. I collected the rocks on the shore at Lytham and on the beach at Morecambe and the rocks had been in a plastic bag clogging up the house for a couple of weeks before I finally had enough to complete the spiral. I put them next to the cliffs at Humphrey Head after clearing and flattening the surface of the sand and left them there.
Pebble Fade

There were some left over pebbles from the black hole sculpture which were different shades to the white/gray/balck that I needed, so I quickly made this arrangement with a fade from sandy yellow, through brown to light purple. These stones came from Lytham.
Black hole
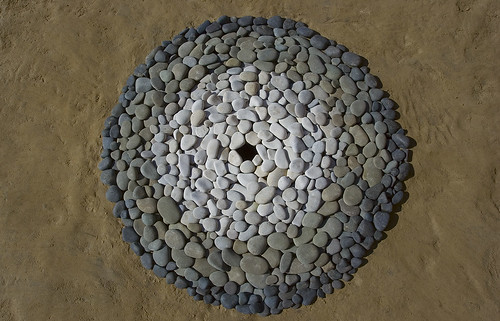
A tribute to Andy Goldsworthy's "pebbles around a black hole" sculpture that he made in Japan (which was one of the first pictures of his that I saw when I googled for som eof his work) that I laid down at Humphrey Head. I first dug a hole and placed the white stones around it (a couple fell in so I had to rebuild the edges a couple of times). Then gradually I blended out the white to grey then darker pebble. I spend ages fiddling around the edge making it straight and then smoothed the sand around it. it ended up being about 3 or 4 foot across and I struggled to get a picture of it from above. Turned out quite well but upon reviewing the Goldsworthy orginal I shouldhave made the black hole bigger! Means I will have to do thi sone again! The white pebbles were from the beach at Silverdale and the rest collected over several days from the beach at Lytham.
Monday, April 09, 2007
Dry Stripe

After I had removed the spiral stones to show the dry patch underneath I also did it with the faded and blended pebbles arrangement and it left this dry stripe on top of this rock. Not sure if the effect is pleasing or not but it does give me lots of ideas for other wet/dry pictures.
Rain Shadow

We went back a couple of days later to the little beach next to Loch Lomond where I made this spiral to see if it was still there. I was surprised and happy to find that this and the other sculptures were still there. The weather had changed from the lovely sunshine when we were first there it was now very windy and lightly drizzling. So I decided to remove the stones (I wanted to take them home) and see the dry patches underneath. This has given us lots of ideas on how to do this again.
Tree Arches

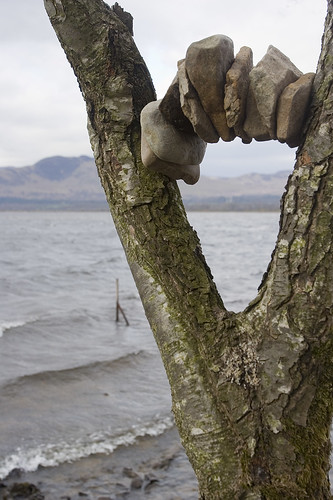
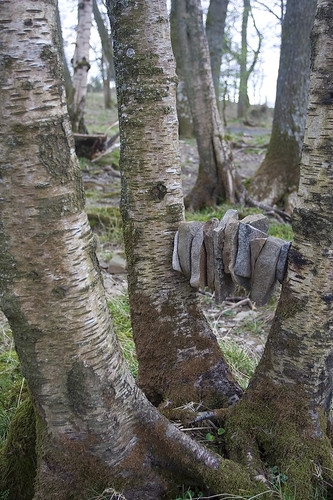
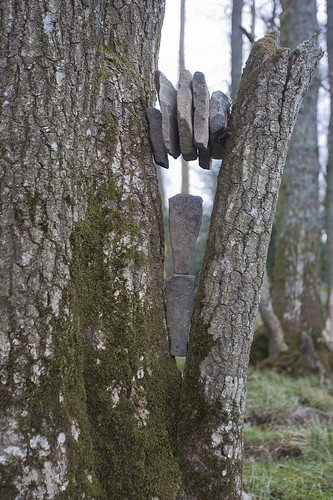
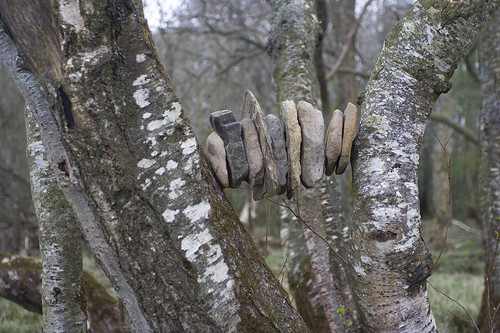
Arches are insanely difficult to build but down by the Loch there were lots of nice flat rocks. Some of these were liberated from the now fallen down slate/quartz stack. This was my first attempt at a tree arch and ended up being the best one. Anything wider than this proved to be impossible for me.
Sunday, April 08, 2007
Quartz Slate Stack
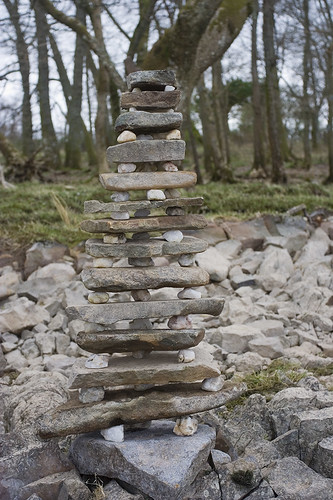
After building the gritstone version at Clougha and lime stone stack near Silverdale, in this style I wanted to build another one with cleaner lines and slabs decreasing in size. This time I collected up all that I needed before I started so I could arrange the stones how I wanted them. The day before I had noticed how the stones turned black when wet when Julia had the idea of dipping her rocks in the water. I liked the idea a lot so for this one I wanted to dip each alternate layer in the water which would, with the quart pebbles in between, give a black and white affect. I found though that the wind was drying out the slabs well before I was near finishing so I gave up that idea. This picture is of the second attempt as the first fell down before I had a chance to get a decent photo, this one fell down shortly after I got this picture.
Saturday, April 07, 2007
Driftwood Zig Zag

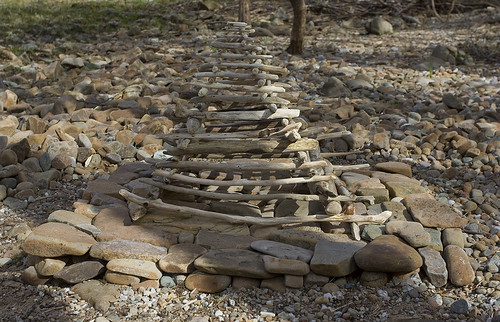
After I had made the stick pyramid there were lots of left over sticks that we had collected. We went back down to the Loch shore a couple of days later and it was now very windy. We went to look at the stick pyramid and quite a bit of it had blown away. These sticks were very light, a bit like balsa wood and it was hard to keep them staying up in the tree. They completely collapsed more than once until I managed to get them to stay in place despite the wind. The sticks went much higher than this but the picture was spoilt by bits of tree getting into the frame. Bits of it had blown away by the next day.
Faded and Blended Pebbles
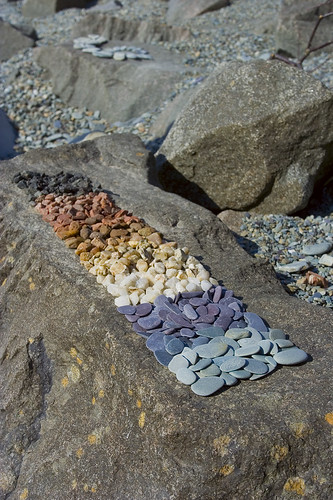
As I was searching for pebbles to make the spiral (you can see it in the background) I noticed the different coloured pebbles on the beach. First of all I wanted to make cone piles of three different colours but as I searched more and more colours appeared. Julia joined in the collecting and we ended up with black fading into red/black mottled granite and then into red granite pebbles, brown and orange sandstone and ironstone into orange quartz then white finally into purple slate and grey slate. Making sculptures like these really makes you look much more closely at your environment. There is more to the process thnan just the creation as you really become deeply immersed in your surroundings.
Spiral
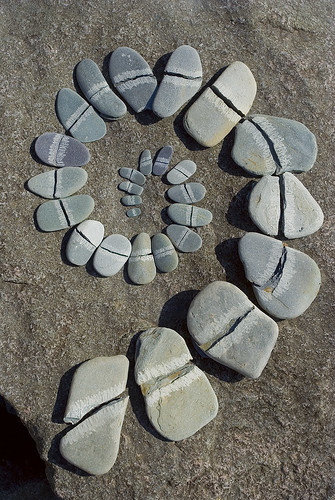
This was another sculpture that I have wanted to do for a while. It is based on the sculpture on the front of Andy Goldsworthy's self titled book. Most of these were slate and split quite easily when tapped with a big stone, but many I hit too hard and they disintegrated so I collected many more stones than ended up in the final result. I was very pleased with the result. It gave me a real sense of the time, effort and artistic flair that Goldsworthy so obviously has. When I looked at his original again afterwards I could understand more the quality of his work (compared to mine - his crack between the stones looks continuous - quite stunning) and the hard work that it takes. Many of his works still look impossible to me though!
Friday, April 06, 2007
Stick Pyramid
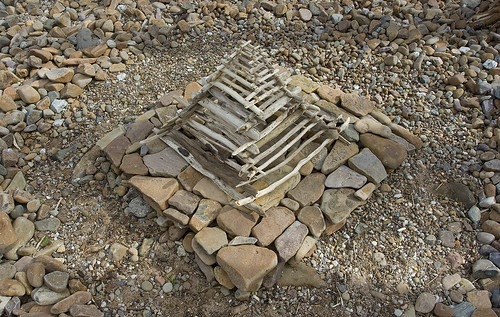
After we arrived at the campsite next to Loch Lomond we went for a stroll down by the loch. The water had obviously been a lot higher and there was a high tide mark with lots of interesting driftwood, water worn rocks, glass bottle necks and bits of bark. I had had in mind for a while that I wanted to build a stick pyramid and the bleached soft wood sticks we found along the shore were perfect. We collected up as many as we could find and sorted them into different lengths. Then we built a square platform of flat rocks upon which we would place the stick stack. So then the sticks were placed in parallel pairs with the next set at 90 degrees on top of the previous layer gradually decreasing in size. The process wasn't as easy as it first appeared, the sticks kept rolling and wouldn't stay where I put them and this got worse as it got higher and the sticks smaller. Finally at the top the sticks were very small and fiddly and wouldn't stay in the right place until I dropped them down the middle of the pile! I then decided to extend the platform and clear out the stones around it as getting out those little sticks was just too damn fiddly. Once the platform was complete I weedled out the lost sticks from under the structure and finally finished it.
Subscribe to:
Posts (Atom)